Tired of dry, itchy skin and the endless cycle of buying commercial soaps filled with harsh chemicals? Yearning for a more natural, cost-effective, and personalized approach to skincare? Then look no further! This ultimate guide will walk you through the rewarding process of creating your own moisturizing and conditioning bar soap at home. You’ll discover how to tailor the ingredients to your specific skin type, experimenting with luxurious oils and butters to achieve the perfect lather and hydration. Forget about artificial fragrances and preservatives – you’ll be in control of every ingredient, ensuring a gentle and effective cleansing experience.
Making your own soap is surprisingly simple and incredibly satisfying. From selecting high-quality oils to understanding the saponification process, we'll cover everything you need to know. Ready to embark on this exciting journey of homemade skincare? Let's dive into the step-by-step process, beginning with the essential ingredients and equipment you'll need to transform simple oils and lye into luxurious, moisturizing bars of soap.
Preparation and Safety Guidelines
- Bowl
- Caustic Soda (Lye)
- Water
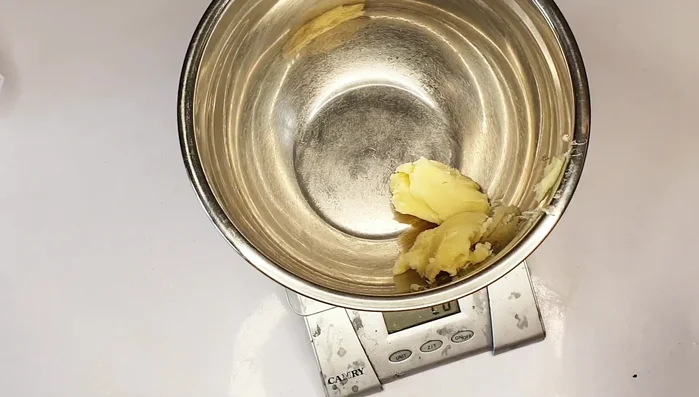
- Shea Butter
- Palm Kernel Oil
- Olive Oil
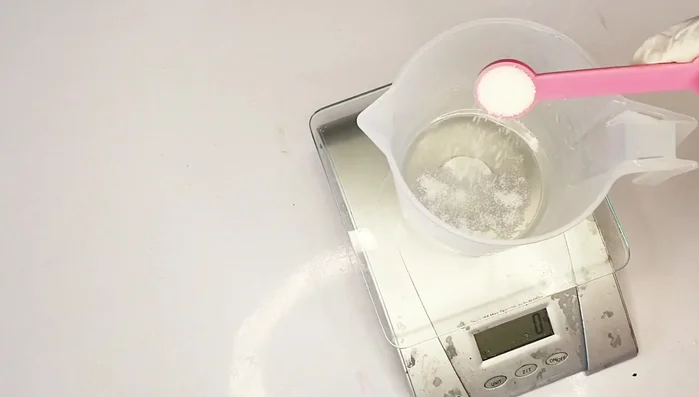
- Sodium Lactate
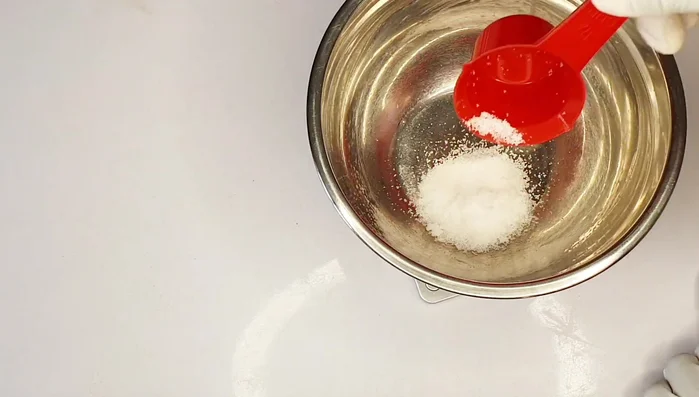
- Sugar
- Stick Blender
- Silicone Mold (or alternative mold)
- Double Boiler
- Always perform a patch test on a small area of skin before using any new homemade soap, especially if you have sensitive skin or allergies. Wait 24 hours to check for irritation.
- Use only high-quality, soapmaking-grade oils and butters. Avoid using essential oils directly in high concentrations without proper research and dilution – some can be irritating or cause skin sensitization.
- Ensure your workspace is clean and organized. Proper hygiene is critical throughout the soapmaking process to prevent contamination and ensure a safe product.
Step-by-Step Instructions
Prepare Lye Solution
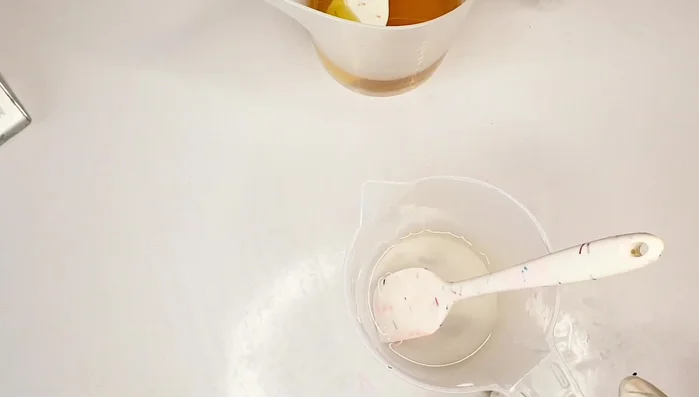
- Carefully mix measured caustic soda (lye) into clean water, stirring gently until completely dissolved. Ensure the mixture is clear.

Prepare Lye Solution Melt Shea Butter
- Melt shea butter in a double boiler.
Melt Shea Butter Combine Oils
- Measure and combine melted shea butter with palm kernel oil and olive oil.
Combine Oils Prepare Lye Solution Additives
- Add measured sodium lactate and sugar to the cooled lye solution and mix until completely melted.
Prepare Lye Solution Additives Combine Lye and Oils
- Combine the lye solution with the oil mixture.
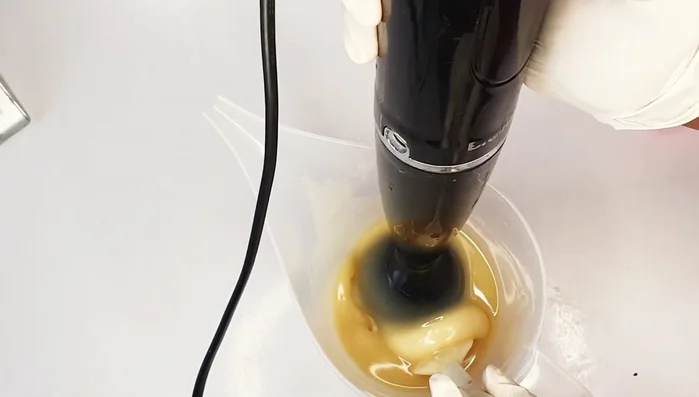
Combine Lye and Oils Reach Trace
- Use a stick blender to mix the combined solution until it reaches a thick, pudding-like consistency (trace).
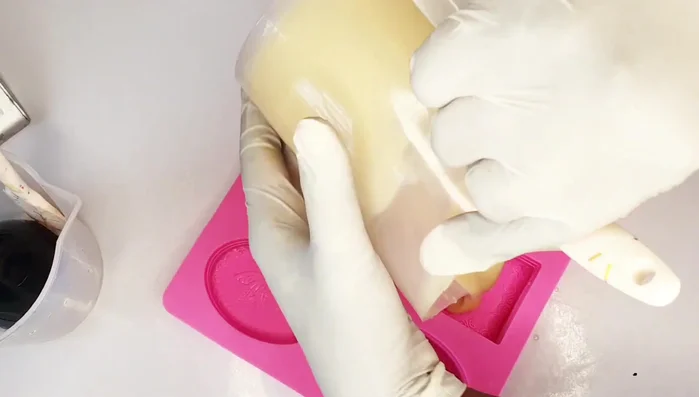
Reach Trace Pour into Mold
- Pour the soap mixture into a prepared silicone mold (or alternative mold).
Pour into Mold Cure Soap
- Allow the soap to cure for at least 24 hours.
Cure Soap


Read more: Top 10 Safest Baby Soaps in India: A Comprehensive Guide for New Parents
Tips
- Always add lye to water, never water to lye.
- Sodium lactate helps harden the soap and makes unmolding easier. Sugar helps create bubbles.
- High olive oil content requires sodium lactate and/or sugar for a harder bar and good lather.
- Soaping at a slightly higher temperature can speed up the process and help reach trace quicker, especially with high olive oil content. Using a stick blender also accelerates this process.
- Alternative molds can be used if a silicone mold is unavailable (lined cardboard boxes, freezer bags etc).