Are you tired of harsh, chemically-laden shaving soaps leaving your sensitive skin irritated and red? Many commercially available shaving products are packed with artificial fragrances and dyes that can trigger reactions, leading to uncomfortable razor burn and ingrown hairs. If you crave a gentle, effective shave without the unnecessary additives, then making your own hot process shaving soap is the perfect solution. This DIY recipe focuses on creating a completely unscented and uncolored soap, ideal for even the most delicate skin types, ensuring a smooth, comfortable shave every time. It's surprisingly simple to create a luxurious shaving experience tailored to your specific needs.
This no-fuss, all-natural recipe utilizes readily available ingredients, minimizing the risk of allergic reactions. We'll guide you through each step, from melting the oils to curing the soap, ensuring a high-quality product that's both effective and soothing. Ready to ditch the store-bought brands and embrace a healthier, more personalized shaving routine? Let's get started with the detailed, step-by-step instructions below.
Preparation and Safety Guidelines
- Crock-pot
- Stick blender
- Measuring cups and spoons
- Sodium lactate
- Lye
- Olive oil
- Coconut oil
- Castor oil
- Shea butter
- Phenolphthalein solution
- Soap mold
- Knife
- Always use a lye calculator to ensure accurate lye concentration. Improper lye concentration can result in caustic soap that will burn your skin.
- Wear appropriate safety gear, including gloves, eye protection, and long sleeves, when handling lye. Lye is corrosive and can cause serious injury.
- Work in a well-ventilated area to avoid inhaling lye fumes. Proper ventilation is essential to prevent respiratory irritation.
Step-by-Step Instructions
Prepare Ingredients
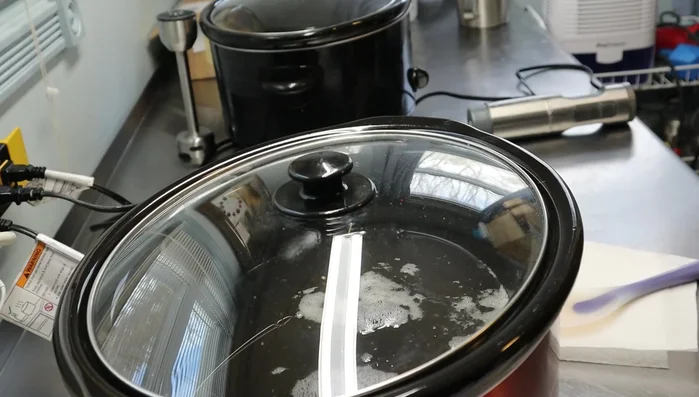
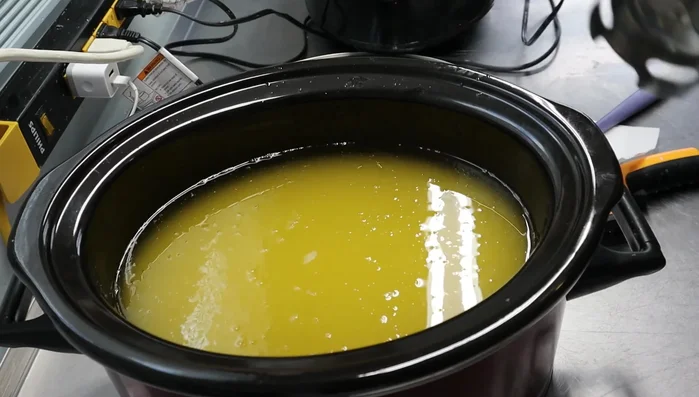
- Heat olive oil, coconut oil, castor oil (over 17%), and shea butter in a crock-pot.
- Mix lye (with organic sugar) and sodium lactate.

Prepare Ingredients Saponification
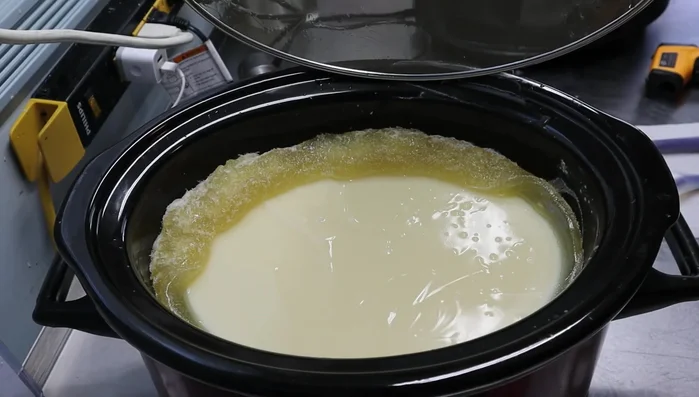
- Slowly add the lye solution to the heated oils, stirring constantly.
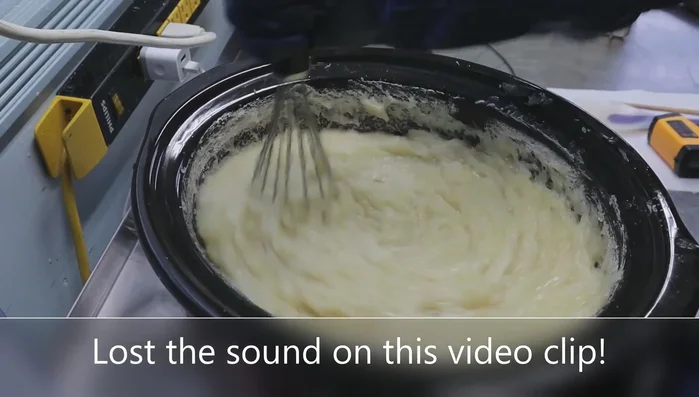
- Blend using a stick blender until trace appears.
Saponification Cooking and pH Testing
- Cook the soap in the crock-pot until it reaches a mashed potato consistency and passes the pH test (slightly pink with phenolphthalein).
Cooking and pH Testing Molding and Cooling
- Pour the soap into a mold and let it cool completely.
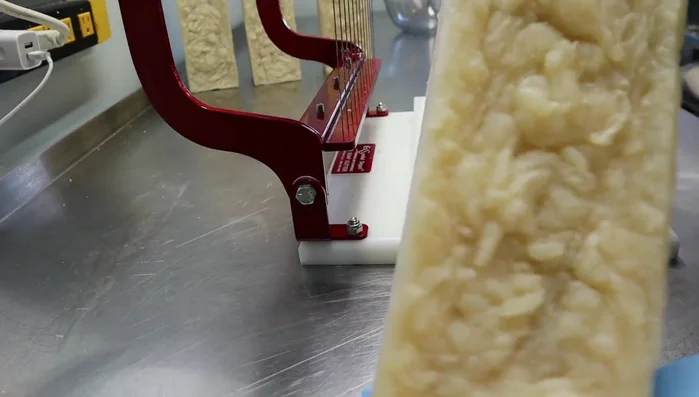
Molding and Cooling Cutting
- Cut the soap into bars.
Cutting


Read more: Top 10 Safest Baby Soaps in India: A Comprehensive Guide for New Parents
Tips
- Use a low and slow cooking method in the crock-pot to prevent scorching.
- Add 5 teaspoons of sodium lactate per 5.45 pounds of oils.
- Perform pH testing using phenolphthalein solution to ensure the soap is fully saponified. A slight pink indicates near completion; allow further cooking if needed.
- This recipe creates a shaving soap with a lot of bubbles, ideal for sensitive skin.