Transform your plastic bag collection into a stylish and eco-friendly shower cap! This DIY tutorial guides you through upcycling plastic shopping bags into a uniquely personalized accessory. Forget mass-produced shower caps; learn how to create a custom-fit, waterproof head covering using readily available materials. This project is not only a fun and creative endeavor, but it also contributes to reducing plastic waste and embracing sustainable living. With a few simple steps and some basic crafting skills, you can craft a shower cap that perfectly matches your style and personality.From collecting colorful plastic bags to fusing them together with an iron, this tutorial provides clear instructions and helpful tips for a successful outcome. Learn how to create interesting designs by strategically arranging and fusing different bag patterns. The process involves cutting, fusing, sewing, and attaching elastic, resulting in a completely waterproof and uniquely designed shower cap. Get ready to upcycle your plastic and create a beautiful, practical, and environmentally conscious addition to your bathroom essentials.
Read more: Adorable Red Baby Shower Cap (5 Pack)
Gathering Materials and Preparation
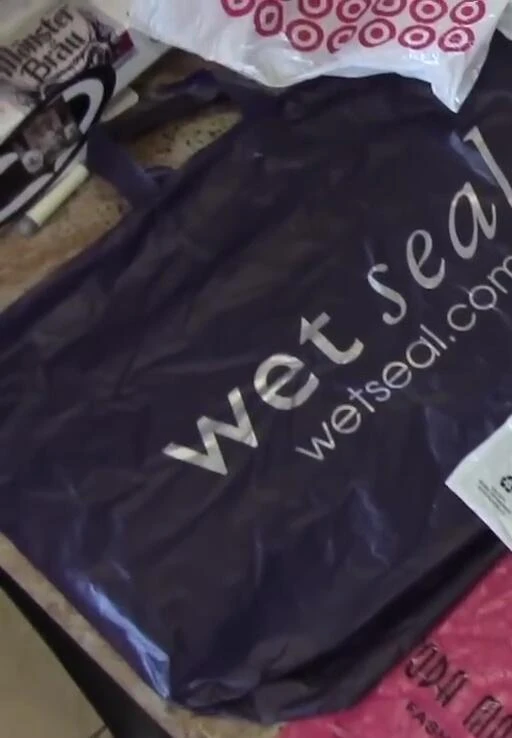
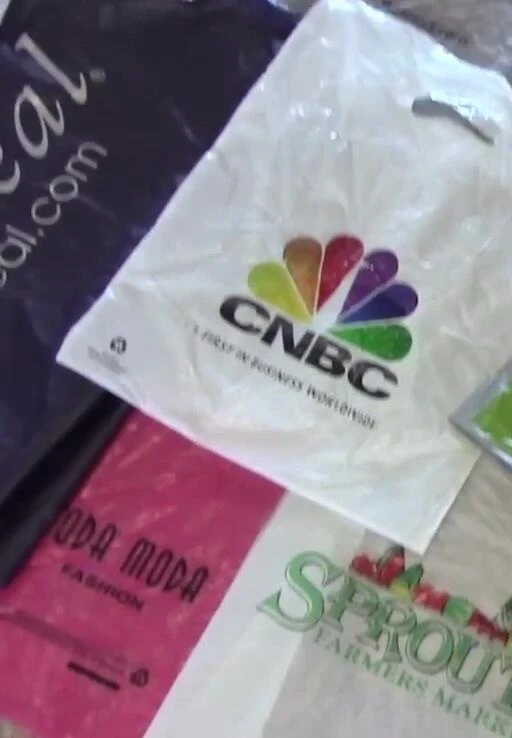
Begin by collecting a variety of plastic shopping bags. The more colorful and patterned the bags, the more visually interesting your shower cap will be. Aim for a good selection of sizes and designs.
Lay out the bags flat, ensuring they are smooth and wrinkle-free. This allows you to easily see the designs and logos you want to incorporate into your shower cap.
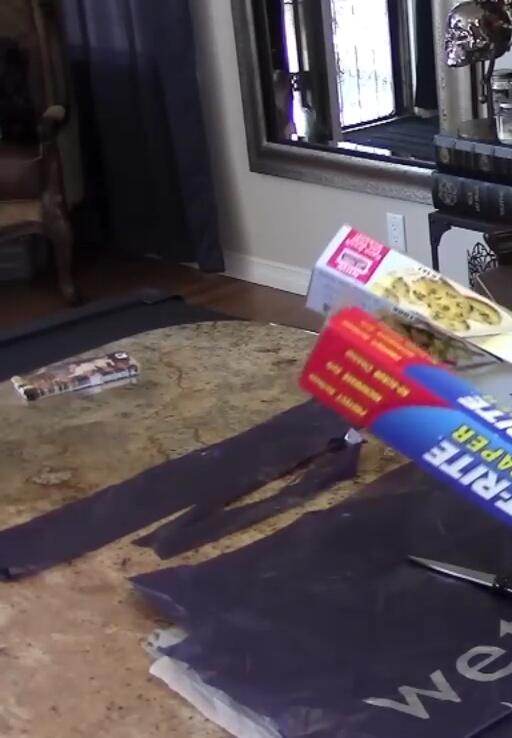
Carefully cut out the logos or patterns from your chosen bags. Remember to work in a well-ventilated area and wear a mask to avoid inhaling fumes from the plastic.
Fusing the Plastic
Place parchment paper or wax paper on a heat-resistant surface. Parchment paper is preferable due to its length, allowing you to fuse larger sections.
Arrange your cut plastic pieces on the paper, avoiding overlaps to maintain the designs. For bags with printed designs, turn them inside out before fusing to prevent ink transfer.

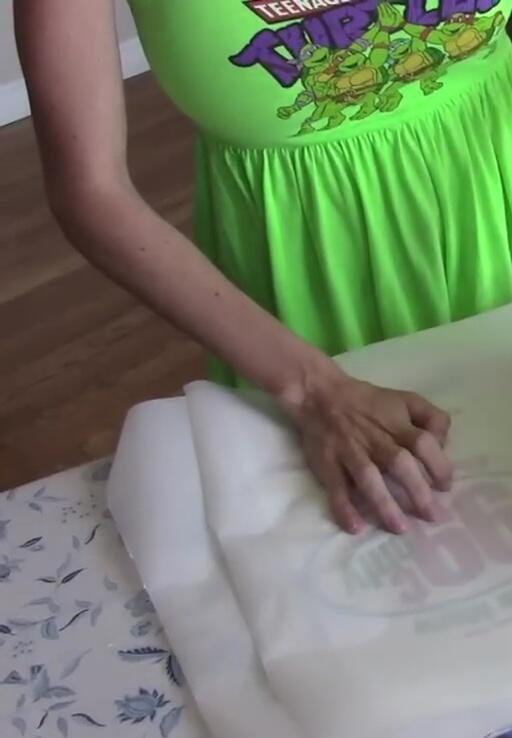
Using a household iron, carefully fuse the plastic pieces together, working from the center outwards. Keep the iron moving constantly to prevent melting or burning.
Construction and Assembly
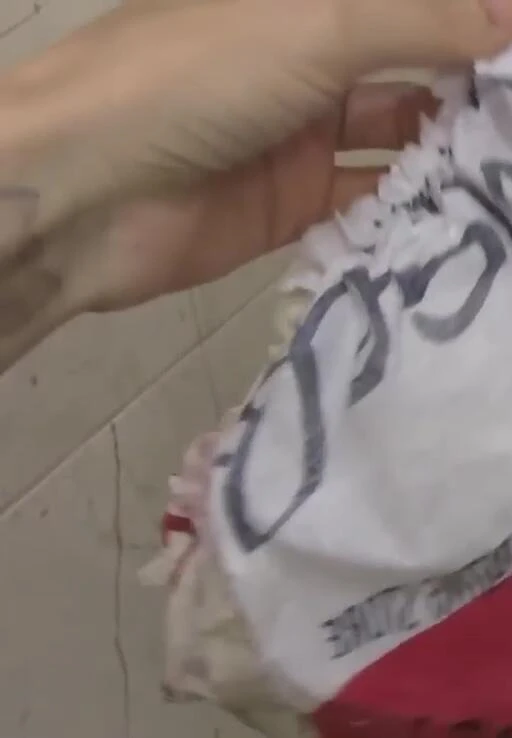
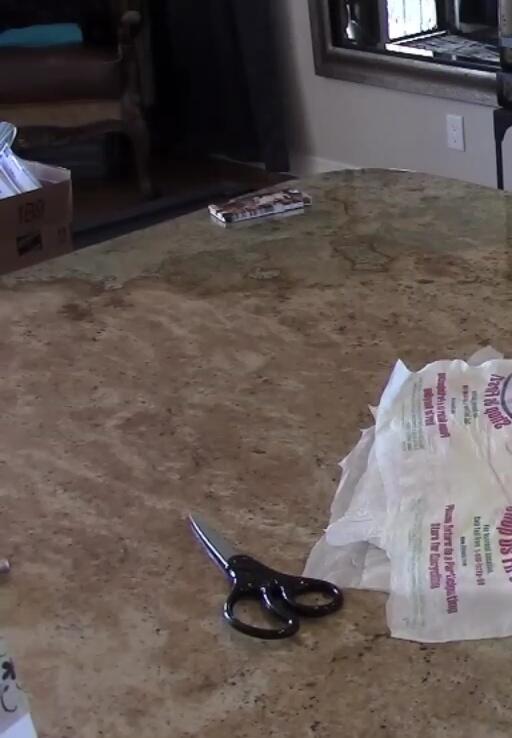
Once the plastic is fused and cooled, trim any rough edges. Sew the fused plastic pieces together to form a large rectangle. This will be the base of your shower cap.
Cut a smaller piece of fused plastic into a heart shape, or any shape you prefer, and fuse it to the center of the rectangle. Add any additional decorative fused plastic pieces.

Cut the large rectangle into a circle to create the shower cap’s main body. This process is flexible; feel free to adjust the size and shape to your preferences.
Adding the Elastic
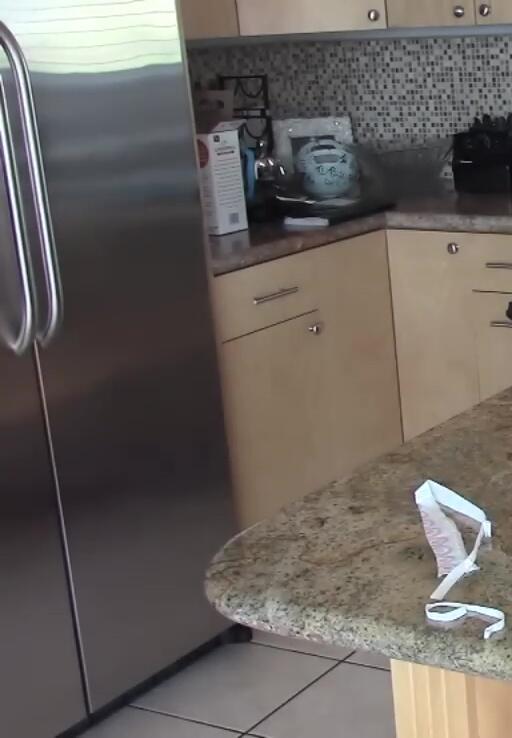
Measure your head circumference and add extra length to your elastic for adjustments. Attaching the elastic requires a slow and careful process of stitching along the outer edge of the circular plastic piece.
As you stitch, continuously pull on the elastic to create a snug fit. Leave about half an inch of unstitched plastic between the elastic and the edge of the shower cap.
After sewing the elastic, try on the shower cap to check the fit. Make adjustments by folding and sewing extra fabric where needed to ensure a comfortable and waterproof seal.
Conclusion
This DIY shower cap project is a fun and creative way to upcycle plastic bags, giving them a new purpose and reducing waste. The final product is a unique, waterproof shower cap perfectly tailored to your head size.
The construction process is forgiving and adaptable to individual preferences. Experiment with designs and materials to personalize your shower cap. It may take a while to create, but the satisfaction of making a useful item from recycled materials is well worth the effort.
Remember safety precautions: work in a well-ventilated area and wear a mask while fusing the plastic. Have fun creating your own unique and eco-friendly shower cap!