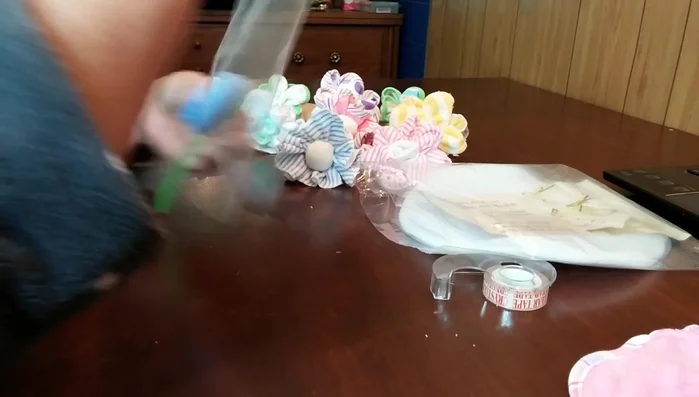
Transform ordinary washcloths into extraordinary decorations with these two incredibly simple DIY methods! Tired of plain, uninspired bathroom accessories? Adding a touch of handmade charm is easier than you think, and these stunning washcloth flowers are the perfect solution. Whether you're looking for a quick and easy craft project to brighten your home or a delightful, budget-friendly gift idea, this tutorial is for you. Forget expensive store-bought décor – repurpose your existing washcloths into beautiful, functional blooms that will add a personalized touch to any room.
These two techniques, requiring only minimal materials and time, will guide you through creating both simple and more elaborate floral designs. From classic roses to more whimsical shapes, the possibilities are endless! Ready to learn how to create these beautiful and practical washcloth flowers? Let's dive into the step-by-step instructions below.
Safety Guidelines
- Always supervise children if they are assisting with any part of the crafting process, especially when using scissors or hot glue.
- Ensure washcloths are clean before crafting to avoid transferring dirt or germs to the finished flower.
- If using hot glue, work in a well-ventilated area and be mindful of burn risks. Use caution when handling the hot glue gun and allow the glue to cool completely before handling the finished flower.
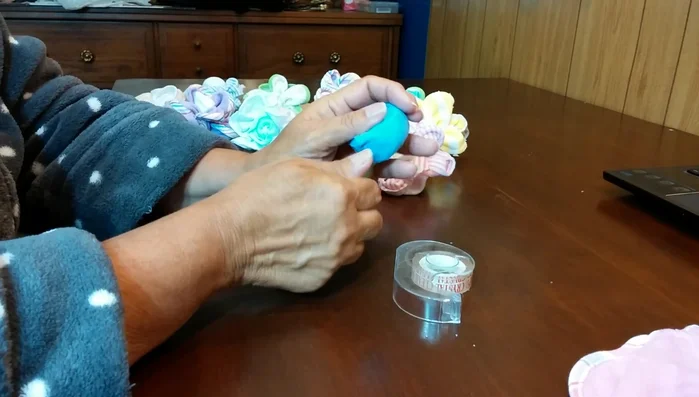
Methods: Simple Gather-and-Tie Flower
Tools Needed
- Washcloth
- Rubber bands
Step-by-Step Instructions
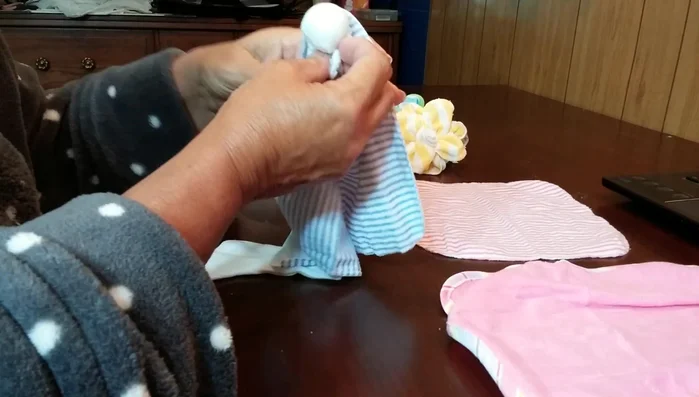
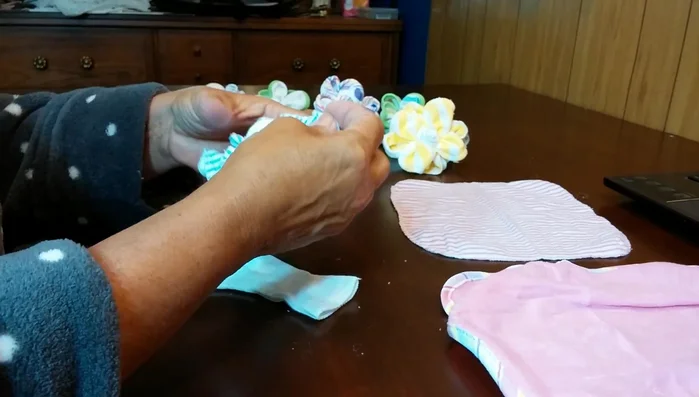
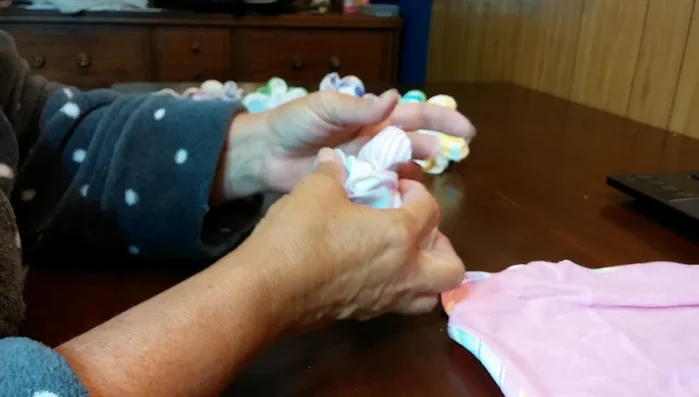
Gathering the Washcloth
- Gather the edge of the washcloth all the way around, twisting as you go.
- Continue gathering and twisting until you have a gathered ball.

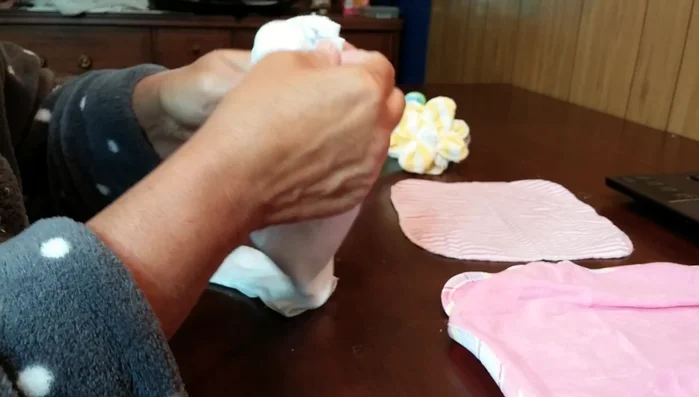
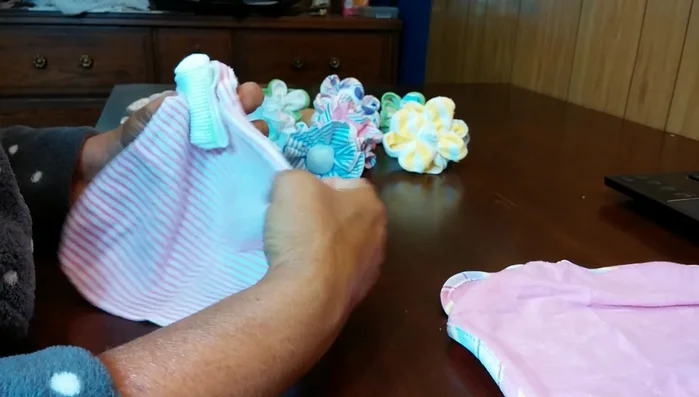
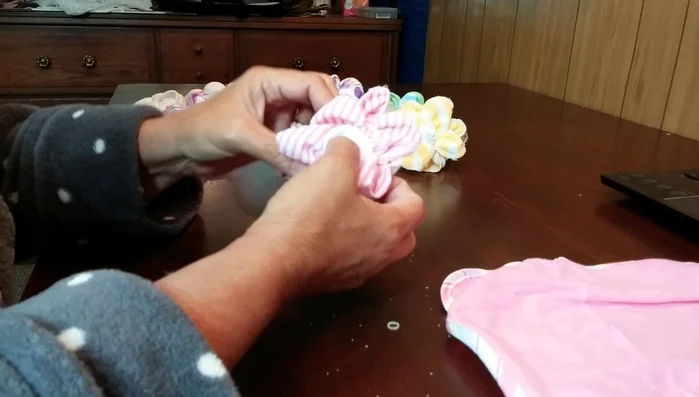
Gathering the Washcloth Securing the Base
- Flip the gathered washcloth over.
- Secure the base with another rubber band.
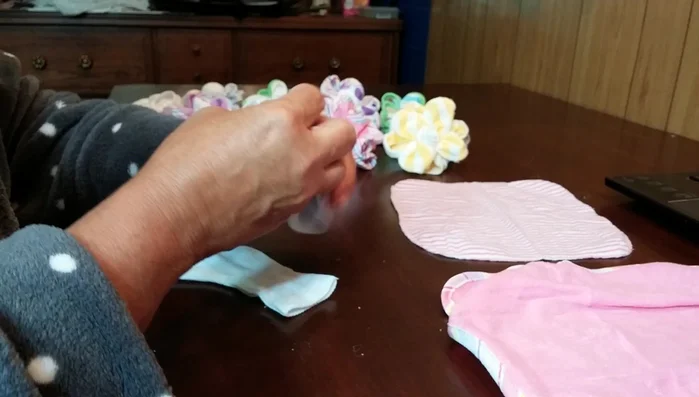
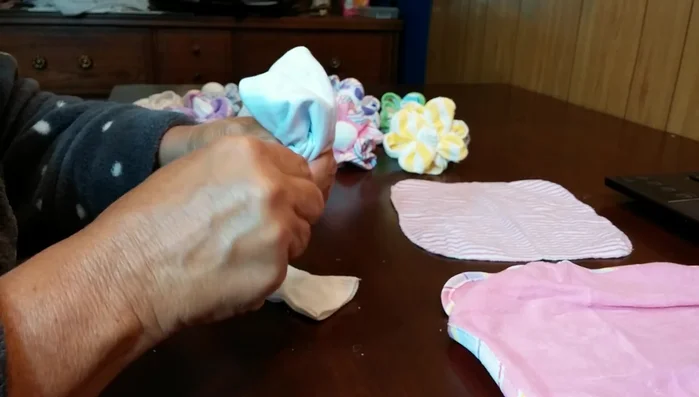
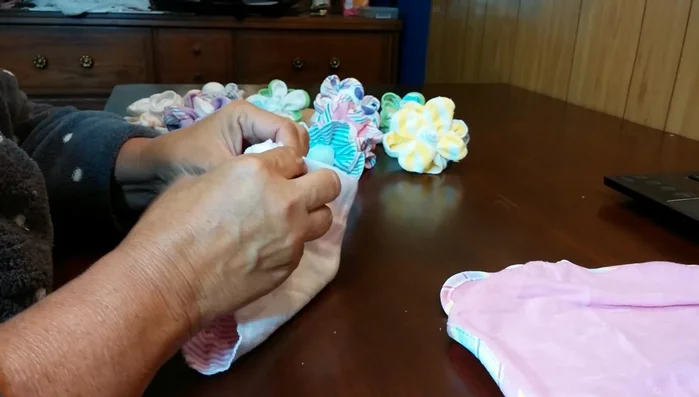
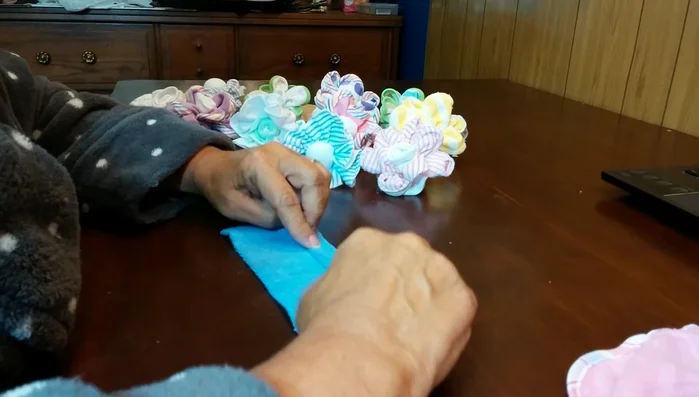
Securing the Base Shaping the Flower
- Play with the extra fabric, tucking and pulling to create ruffles and even out the flower.
Shaping the Flower
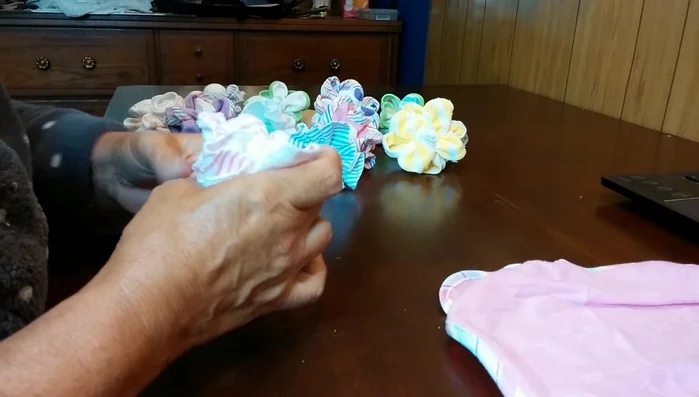
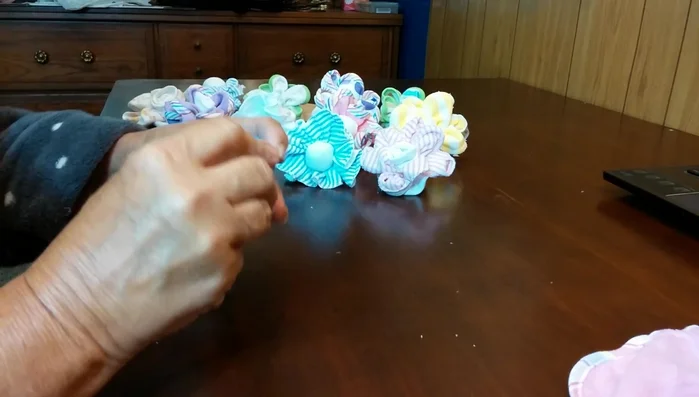
Tips
- If a piece is too long, pull it back through the inside.
- Keep playing with the fabric until you achieve the desired look.
Methods: Four-Corner Rose Flower
Tools Needed
- Washcloth
- Rubber bands
Step-by-Step Instructions
Gather and Secure
- Bring the four corners of the washcloth up.
- Let the extra fabric from the corners fall down.
- Secure the gathered corners with a rubber band.
Gather and Secure Shape the Petals
- Work with the fabric, pulling and shaping the petals to create a rose-like shape.
Shape the Petals Finish the Base
- Open and shape the four points left at the base to complete the flower.
Finish the Base
Tips
- Keep playing with the fabric, turning and pulling until you achieve your desired look.
Methods: Easy Washcloth Lollipop
Tools Needed
- Washcloth
- Plastic silverware (fork or spoon)
- Double-sided tape (optional)
- Tool circles or ribbon
Step-by-Step Instructions
Prepare the Washcloth
- Roll or fold the washcloth tightly.
Prepare the Washcloth Secure the Washcloth
- Secure the rolled washcloth with tape or a rubber band.
Secure the Washcloth Attach to Silverware
- Attach the rolled washcloth to the plastic silverware, ensuring the seam is at the bottom.
Attach to Silverware Decorate the Lollipop
- Decorate the base with a tool circle and ribbon.
Decorate the Lollipop
Tips
- Use double-sided tape inside the fork or spoon to improve the seal (optional).