Tired of scratchy, ineffective washcloths that leave you feeling less than clean? Then it's time to upgrade your bathroom routine with the luxurious softness and superior absorbency of DIY terry cloth washcloths! Forget flimsy, mass-produced options; making your own is surprisingly simple and allows for complete customization in terms of size, color, and even added features like embroidered monograms. You'll be amazed at the difference a truly absorbent washcloth makes, transforming your daily cleansing ritual into a pampering experience.
High-quality terry cloth fabric is the key to achieving that perfect balance of plush comfort and exceptional water absorption. This guide will walk you through the surprisingly easy process of creating your own luxurious washcloths, from selecting the right materials to the final stitch. Ready to experience the ultimate in clean? Let's dive into the step-by-step instructions below.
Preparation and Safety Guidelines
- Terry cloth fabric
- 100% cotton fabric
- Sewing machine
- Scissors
- Iron
- Always pre-wash your fabric before cutting and sewing to prevent shrinkage after the washcloths are completed.
- Use sharp scissors or a rotary cutter for clean cuts to avoid fraying and ensure accurate piecing.
- Handle your sewing machine needles and pins with care to avoid accidental pokes and injuries.
Step-by-Step Instructions
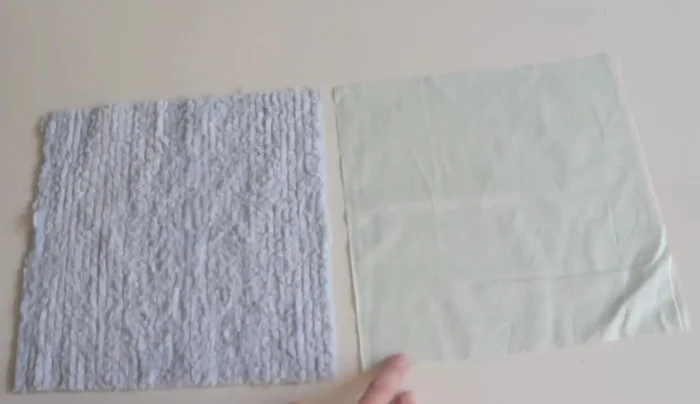
Prepare Fabric
- one terry cloth and one 100% cotton.

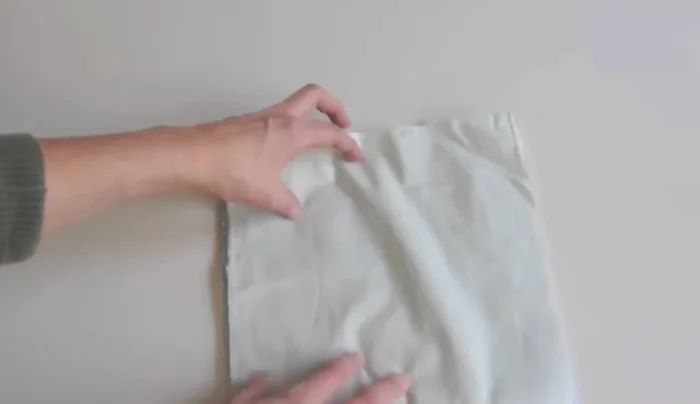
Prepare Fabric Sew the Washcloth
- Place the fabric pieces right sides together.
- Stitch along the outside edge using a ¼ inch seam allowance, leaving a small opening for turning.
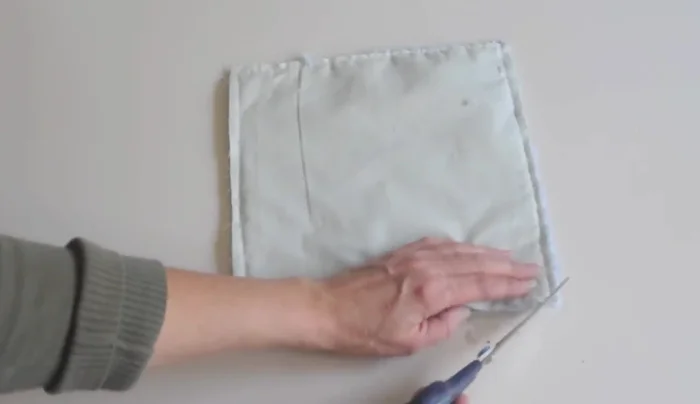
Sew the Washcloth Prepare for Turning
- Trim the corners to reduce bulk.
Prepare for Turning Turn and Shape
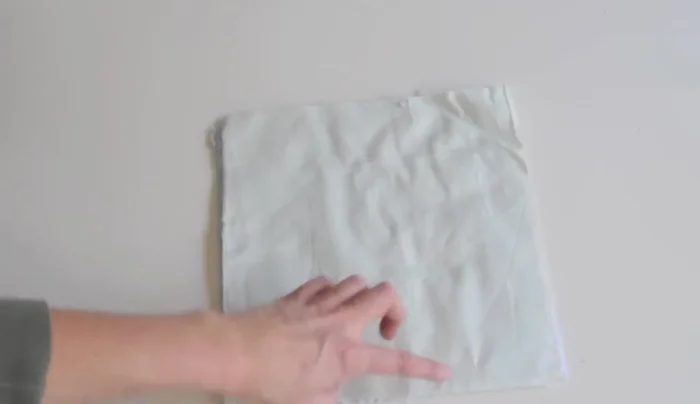
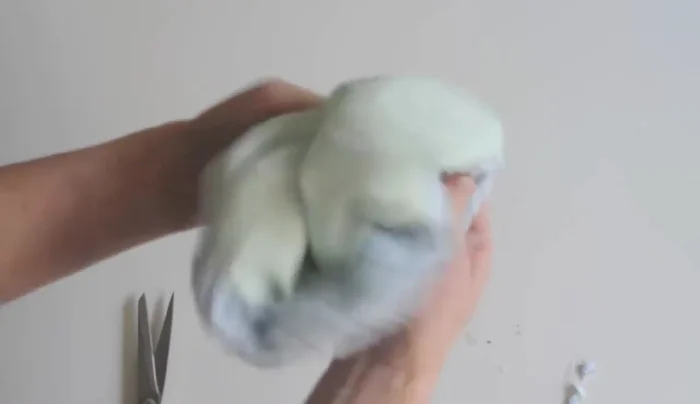
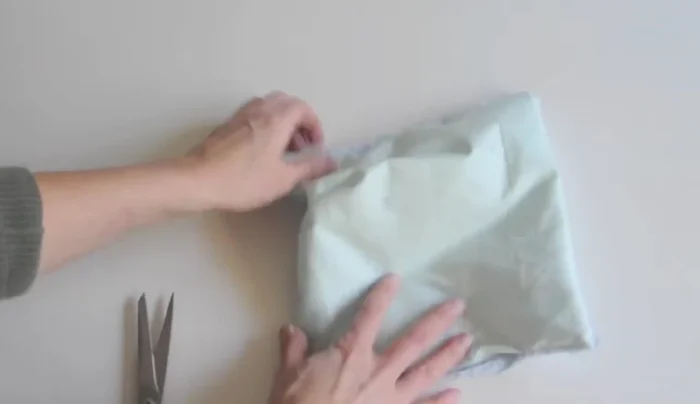
- Turn the fabric right side out through the opening and poke out the corners.
- Iron the washcloth flat.
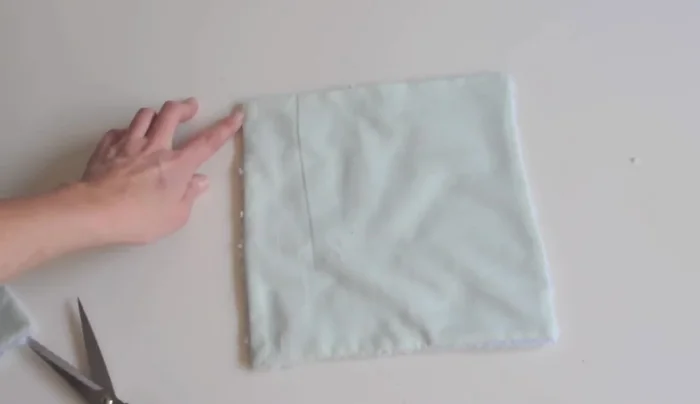
Turn and Shape Finish and Secure
- Stitch along the outside edge, close to the raw edge, to close the opening.
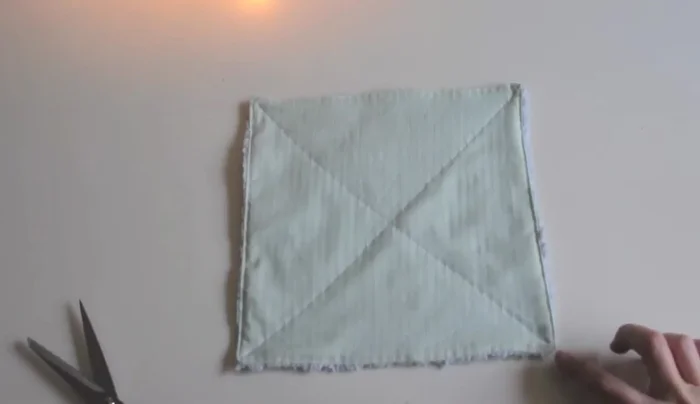
- Create an 'X' in the center of the washcloth by quilting it to prevent the layers from separating.
Finish and Secure
Read more: Baby's First Laundry: A Step-by-Step Guide for Expectant Parents
Tips
- Use a back stitch at the beginning and end of your seams for added security.
- Trimming the corners before turning helps create nice, clean corners.
- Ironing the washcloth before the final stitching ensures a smooth, professional finish.
- The quilting 'X' prevents the two layers of fabric from separating during washing and use.