Dry, damaged, or simply lackluster hair? You don't need expensive salon treatments to achieve luscious, healthy-looking locks. The secret lies in a powerful, yet simple, hair care duo: a rich and creamy rinse-out conditioner and a lightweight leave-in conditioner, both easily crafted at home with readily available ingredients. This DIY approach allows you to customize your conditioners to precisely address your hair's specific needs, avoiding harsh chemicals and potentially saving you a significant amount of money in the long run. You'll discover the transformative power of natural ingredients, tailored to your hair type and concerns, resulting in noticeably softer, shinier, and more manageable hair.
This article will guide you through the step-by-step process of creating both a luxurious rinse-out conditioner and a feather-light leave-in treatment, empowering you to take control of your hair's health and beauty. Get ready to experience the remarkable difference these homemade conditioners can make, unlocking the secret to achieving your hair care goals without breaking the bank or compromising on quality.
Preparation and Safety Guidelines
- Measuring cups/spoons
- Whisk
- Heatproof bowls
- Immersion blender (optional)
- pH meter (optional)
- Always perform a patch test on a small area of skin before applying any homemade conditioner to your entire scalp or hair to check for allergic reactions.
- Avoid using ingredients that could irritate your scalp, such as essential oils, if you have sensitive skin or a scalp condition. If irritation occurs, discontinue use immediately.
- Store homemade conditioners in airtight containers in a cool, dark place to maintain their freshness and effectiveness. Discard if any signs of spoilage (e.g., mold, unusual smell) are present.
Step-by-Step Instructions
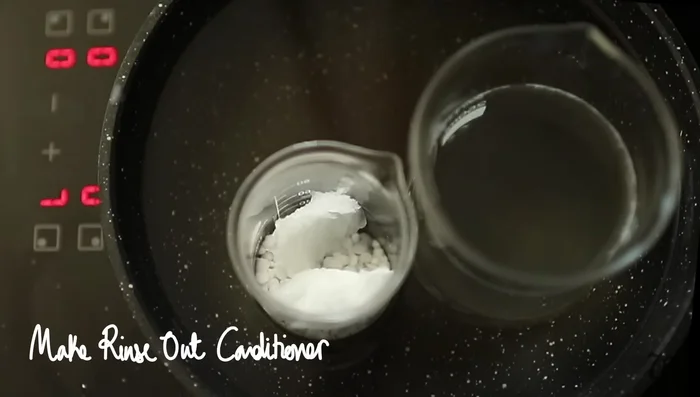
Rinse-Out Conditioner: Water Phase Preparation
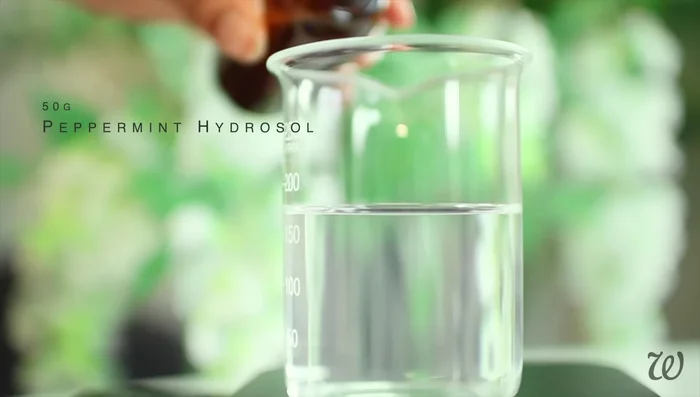
- mix distilled water, peppermint hydrosol (optional), and set aside.
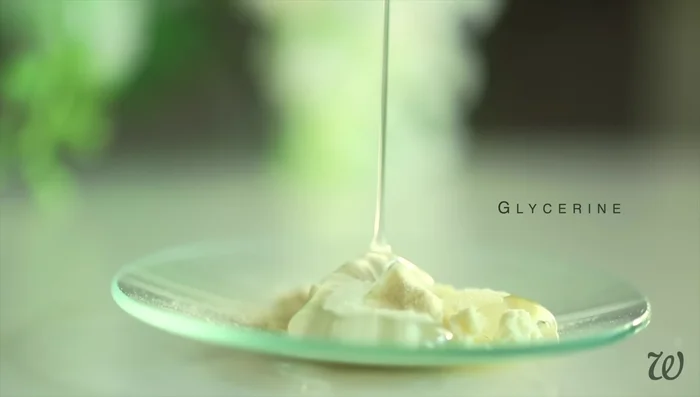
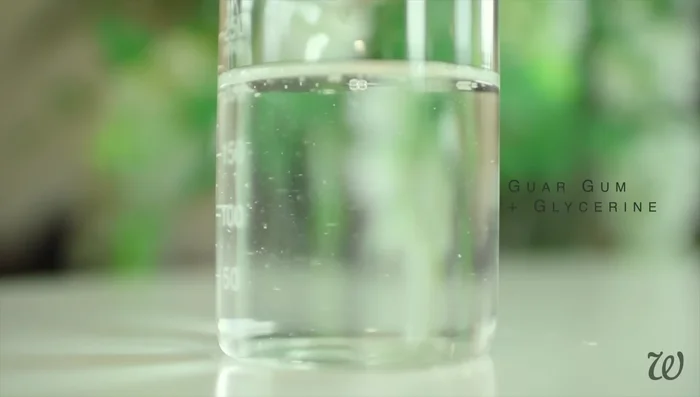
- Combine guar gum and glycerin in a separate bowl to disperse the gum.
- Add the guar gum/glycerin mixture and centromonium chloride to the water base. Whisk until combined.

Rinse-Out Conditioner: Water Phase Preparation Rinse-Out Conditioner: Oil Phase Preparation
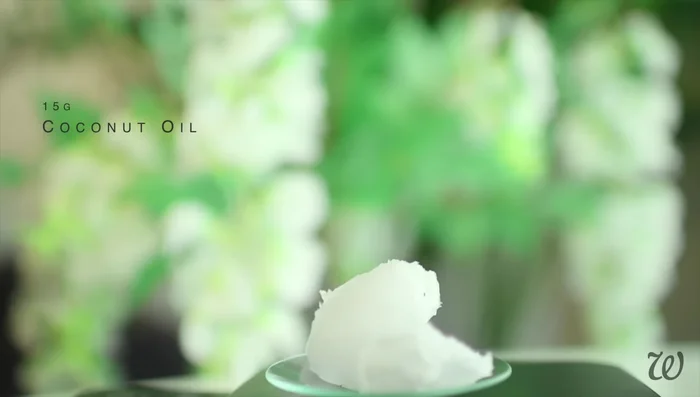
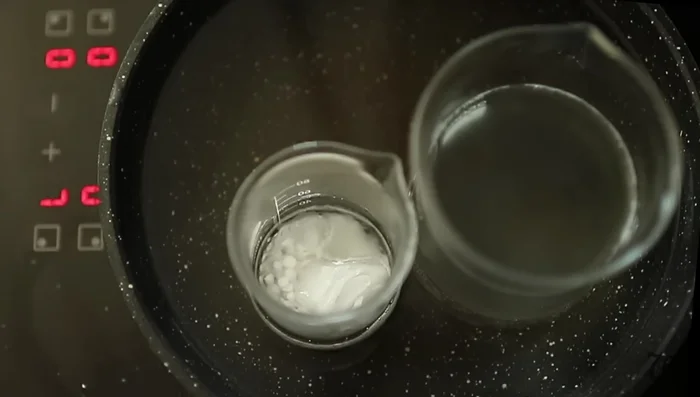
- melt coconut oil (or your preferred oil), BTMS, and cetyl alcohol (or another fatty alcohol) over low heat.
Rinse-Out Conditioner: Oil Phase Preparation Rinse-Out Conditioner: Emulsification
- Combine the oil phase with the water phase. Whisk thoroughly, then use an immersion blender (or whisk vigorously) until fully emulsified and thickened.
Rinse-Out Conditioner: Emulsification Rinse-Out Conditioner: Add Heat-Sensitive Ingredients
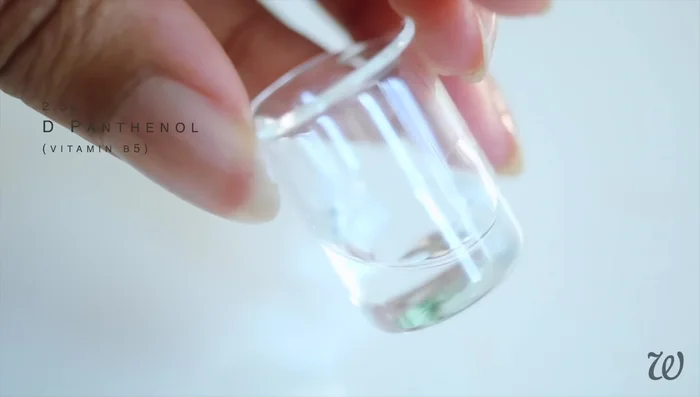
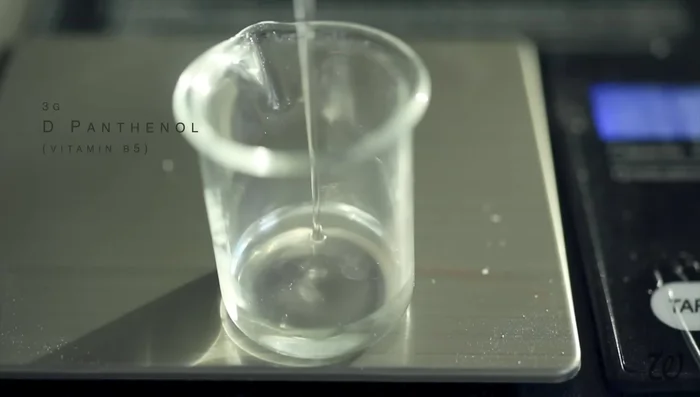
- panthenol (vitamin B5) and hydrolyzed wheat protein (optional). Whisk to combine.
Rinse-Out Conditioner: Add Heat-Sensitive Ingredients Rinse-Out Conditioner: Preservation and Antioxidant
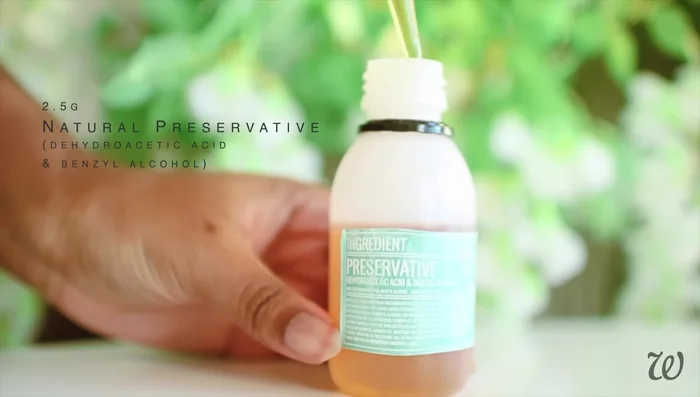
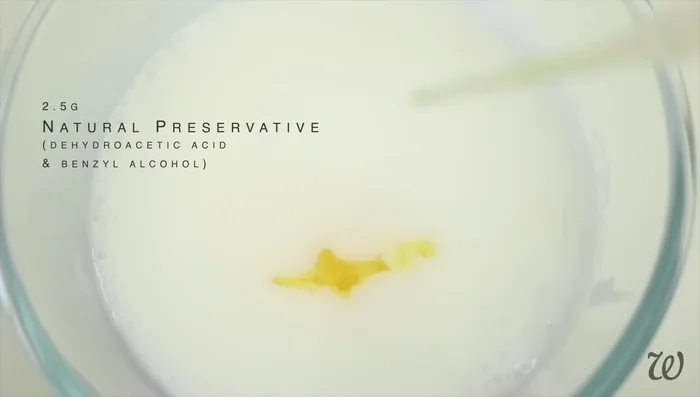
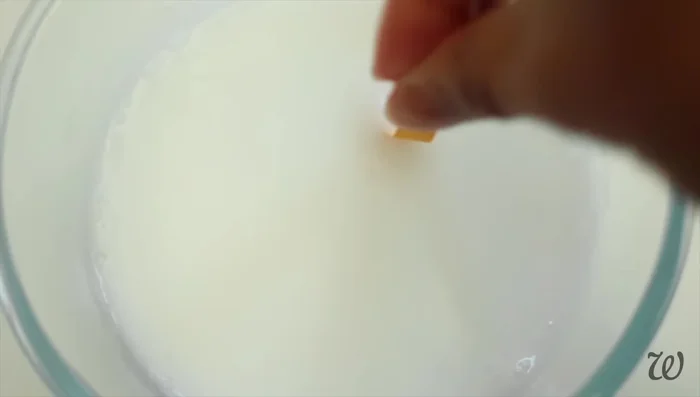
- Add preservative (Preservative Eco or alternative) and antioxidant (vitamin E) to the rinse-out conditioner. Whisk thoroughly.
Rinse-Out Conditioner: Preservation and Antioxidant Rinse-Out Conditioner: pH Adjustment
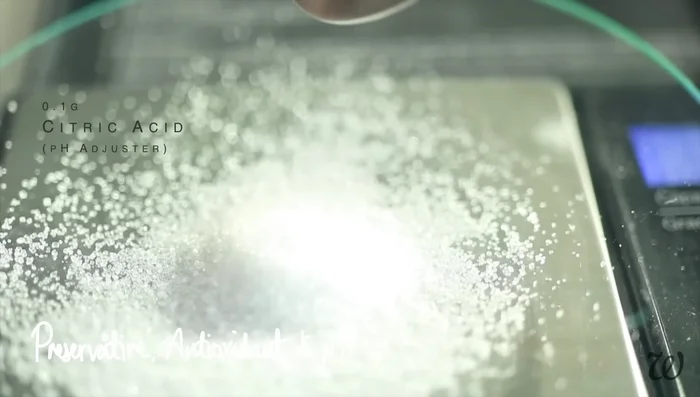
- Adjust the pH of the rinse-out conditioner using citric acid, if necessary. Check pH with a meter.
Rinse-Out Conditioner: pH Adjustment Leave-In Conditioner: Water Phase Preparation
- combine distilled water, peppermint hydrosol (optional), centromonium chloride, and guar gum. Whisk until combined.
Leave-In Conditioner: Water Phase Preparation Leave-In Conditioner: Oil Phase Preparation
- melt coconut oil (or your preferred oil), BTMS, and cetyl alcohol (or another fatty alcohol) over low heat.
Leave-In Conditioner: Oil Phase Preparation Leave-In Conditioner: Emulsification
- Combine the oil and water phases for the leave-in conditioner. Whisk thoroughly until fully emulsified.
Leave-In Conditioner: Emulsification Leave-In Conditioner: Add Active Ingredient
- Add panthenol (vitamin B5) to the leave-in conditioner. Whisk to combine.
Leave-In Conditioner: Add Active Ingredient Leave-In Conditioner: Preservation and Antioxidant
- Add preservative (Preservative Eco or alternative) and antioxidant (vitamin E) to the leave-in conditioner. Whisk thoroughly.
Leave-In Conditioner: Preservation and Antioxidant Leave-In Conditioner: pH Adjustment
- Adjust the pH of the leave-in conditioner using citric acid, if necessary. Check pH with a meter.
Leave-In Conditioner: pH Adjustment


Read more: Ultimate Guide to Detangling Extremely Tangled Black Child Hair
Tips
- Use distilled water for longer shelf life.
- Centromonium chloride is highly recommended, especially for afro hair, for slip and detangling.
- Guar gum aids in easy spreading and anti-static properties.
- Glycerin (or honey) is a humectant, drawing moisture into the hair.
- BTMS is crucial for emulsification and conditioning.