Beach days and poolside lounging just got a whole lot cozier! Forget bulky beach towels that constantly slip off your shoulders – this easy DIY hooded towel tutorial will show you how to create your own personalized, comfy, and practical hooded towel in no time. Imagine the convenience of wrapping yourself in soft, absorbent fabric with a built-in hood to shield you from the sun or a cool breeze. This project requires minimal sewing skills and readily available materials, making it perfect for beginners and seasoned crafters alike. You'll be surprised at how quickly you can whip one up, and the personalized touch adds a special element to your summer essentials.
Tired of fighting with your towel on windy days or wishing for a little extra warmth after a refreshing dip? This fun and functional project is perfect for both kids and adults. Ready to transform a simple towel into a stylish and practical hooded masterpiece? Let's dive into the step-by-step instructions and create your own comfy haven for all your sunny adventures.
Preparation and Safety Guidelines
- Hand towel
- Bath towel
- Rotary blade
- Sewing machine
- Always supervise young children when using hooded towels, especially near water.
- Ensure the towel is completely dry before storing to prevent mold and mildew growth.
- Avoid using sharp scissors or tools near the fabric to prevent injury during cutting and sewing.
Step-by-Step Instructions
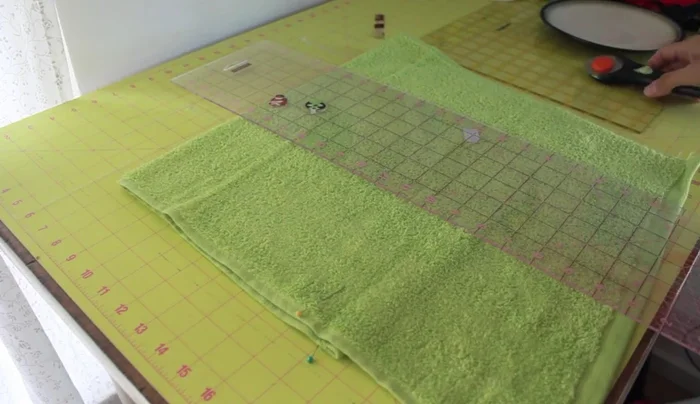
Prepare the Hood
- Cut one side of the hand towel to create the hood. Use the existing edge of the towel as a finished edge for the hood. Measure approximately 12 1/2 inches wide by 10 inches high (20 inches when doubled).
- Use a round object (like a plate) to round the top of the hood for a cuter look.

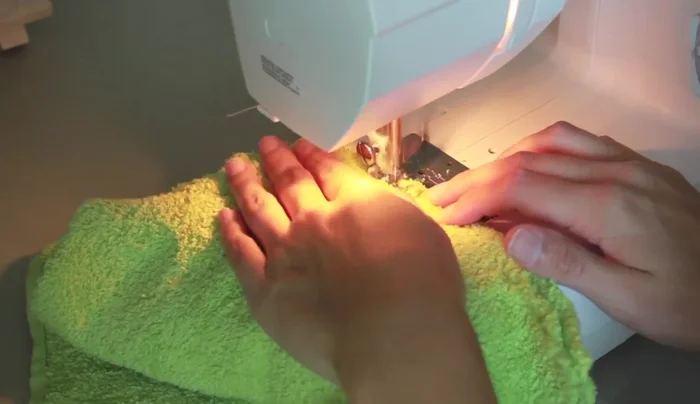
Prepare the Hood Sew the Hood
- Pin the curved edges of the hand towel together (right sides facing). Sew using a straight stitch, removing pins as you go. Use the presser foot as a guide for seam allowance (slightly more than 1/4 inch).
- Zigzag stitch over the seam allowance to prevent fraying and ensure washability. Adjust stitch length for desired density.
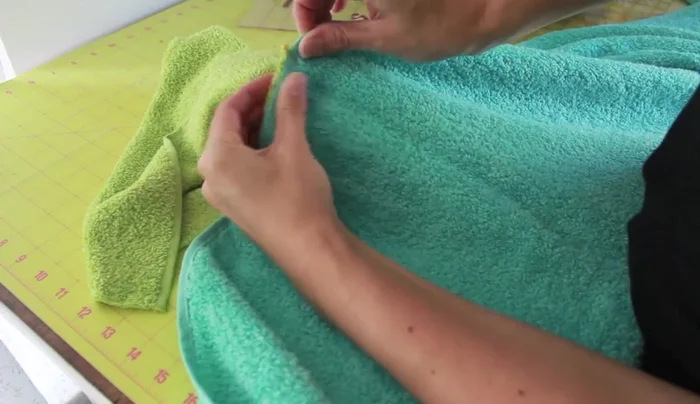
Sew the Hood Attach the Hood to the Bath Towel
- Fold the bath towel in half to find the center. Center the seam of the sewn hood on the folded bath towel, with right sides together. Pin the hood to the towel, aligning edges.
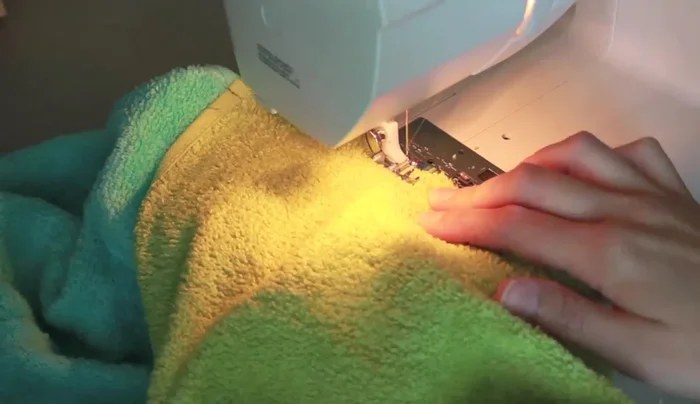
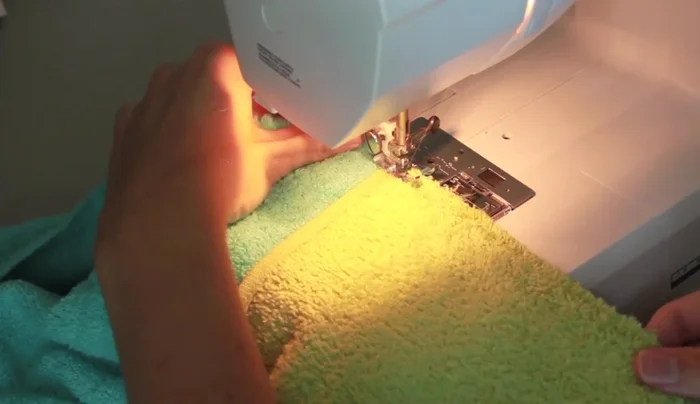
- Sew the hood to the bath towel using a straight stitch, again using the presser foot to guide seam allowance. Backstitch well.
- Zigzag stitch the seam between the hood and the bath towel to prevent fraying, using a dense zigzag stitch and backstitching.
Attach the Hood to the Bath Towel


Read more: Wash New Baby Blankets Like a Pro: The Vinegar Method for Soft, Chemical-Free Cleanliness
Tips
- Be aware that terry cloth can sometimes get stuck in the presser foot of the sewing machine.
- Control the density of the zigzag stitch using your machine's stitch length dial.
- Backstitch at the beginning and end of both straight and zigzag stitches for extra durability.